Setting Up the Brooder: The First Three Weeks
Chick losses cluster in week one and almost all of them trace to heat, draught or wet bedding. How to set a brooder up properly, and the daily line worth keeping.
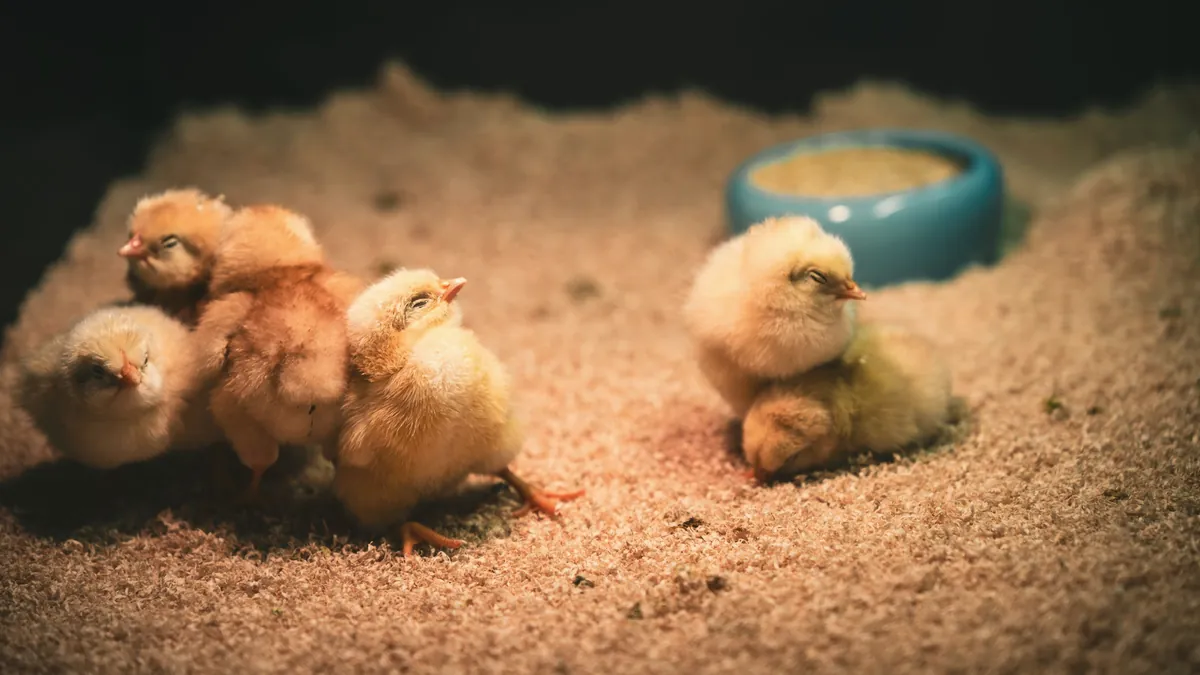
Chicks are easy to keep alive and remarkably easy to kill, and almost everything that goes wrong goes wrong in the first week.
The losses are not mysterious. Three causes account for nearly all of them: wrong heat, a draught, and damp bedding. Every one of the three is a setup problem rather than a bad-luck problem, which means the work is done before the box arrives, not after.
Heat: read the chicks, not the gauge
The number everyone quotes is about 95°F under the heat source in week one, dropping roughly five degrees a week until they are feathered.
That number is a starting point and nothing more, because what matters is the temperature where the chicks actually are — which depends on the height of the lamp, the ambient temperature of the room, and how much heat the bedding absorbs. A thermometer taped to the wall of a brooder tells you about the wall.
So set the heat by the number, then correct it by watching:
- Huddled in a tight pile directly under the heat, loud insistent cheeping — too cold. Lower the lamp or raise the output.
- Pressed against the far walls, panting, wings held away from the body — too hot. Raise it.
- Spread across the whole space, some eating, some sleeping flat out, soft chirping — correct. Change nothing.
The other half of getting heat right is giving them somewhere to go. The brooder must have a cool end. A box heated uniformly gives a chick no way to regulate itself; a box with a warm corner and a cool corner lets it choose, which is far more reliable than any adjustment you make.
Draught and damp: the two quiet killers
A chick can handle cool. It cannot handle moving air, which strips heat off it faster than it can generate it. Solid walls to at least chick height, no gap at floor level, and nothing blowing across the box. This is the same principle as the winter coop, and it catches people out in the same way.
Damp bedding is the other one. Wet litter chills, and it is where most of the trouble that looks like illness begins. Waterers get tipped, scratched into, and stood in. Raise the waterer slightly on a block once they are a few days old, top up rather than flood, and change any patch of wet bedding the moment you see it rather than at the weekend.
The setup, before they arrive
Ready the day before, not the day of
- Brooder run for 24 hours and holding temperature at chick height, with a cool end
- Bedding deep, dry and not slippery — paper towel over shavings for the first days so they find feed and grip properly
- Waterer full and at room temperature, never cold from the tap
- Feed down and visible, scattered on the paper as well as in the feeder
- Draught check: kneel to chick height and feel for moving air
Dip each chick’s beak in the water as you put it in. Most find it themselves; the one that doesn’t is the one you lose.
Space, and the mistake nobody expects
They grow faster than the box does. A brooder that is generous for day-old chicks is crowded by week three, and crowding brings pecking, which brings injury, which brings more pecking.
Plan for roughly half a square foot each in the first two weeks and double that by week four, and have the next arrangement ready before you need it. The transition out is easier if you have already decided where they are going.
The daily line
Thirty seconds, once a day, for six weeks:
Date · temperature at chick height · behaviour (huddled / spread / panting) · feed and water topped · anything odd · losses with a cause.
That last column is the one that pays. Two seasons of “day 3, one lost, pasty vent” or “week 2, chilled corner after the door blew open” turns brooding from a nervous fortnight into a routine you have already debugged. And the behaviour column is what teaches you to trust your eyes over the thermometer, because you will see in your own notes the day the gauge said 92 and the chicks said cold.
Hatch & Hover is ruled for this — hatch and brooder logs with the temperature, behaviour and loss columns already drawn, running through into the laying year. The free Flock & Hive Log covers the daily line if you want to start on one page.
Before the box arrives
Run the brooder a full day early and watch the thermometer at chick height, not at the wall. It is the one job that cannot be done after they arrive, and it is the one that prevents most of week one’s trouble.
Then dip the beaks, and check them more often than feels necessary for the first two days.
— Hadley
Common questions
- What temperature should a brooder be?
- The common starting point is around 95°F under the heat source in week one, reduced roughly five degrees a week. But the chicks are the better thermometer — read where they sit rather than what the gauge says.
- How do I know if chicks are too hot or too cold?
- Huddled tight under the heat and cheeping loudly means cold. Pressed to the far walls, panting, wings held out means hot. Spread evenly, some eating, some sleeping, quiet chirping means right.
- How long do chicks need heat?
- Usually five to six weeks, until they are feathered out, though it depends on the ambient temperature where the brooder sits. A brooder in a heated room finishes sooner than one in a barn.

The Pre-Winter Pantry Count (Do It Before You Need It)
An inventory taken in October is true; one taken in January is done by lamplight and wrong. How to count a pantry, and the four numbers.
Read the article →
Getting Chickens Ready for Winter: Molt, Light, Records
September is molt season — the worst time to make winter decisions from memory. What molt looks like, the real pre-winter jobs, and the light question.
Read the article →
The Fall Cleanup That Feeds Next Year's Compost
Most autumn cleanup throws away the year's best compost. How to sort beds into browns, greens and burn-pile while you clear them.
Read the article →