Spring Bed Prep and the Soil Test Worth Doing
Most spring bed prep is guesswork with a bag of amendment. A soil test costs little, takes a fortnight, and turns the guessing into a plan you can repeat.
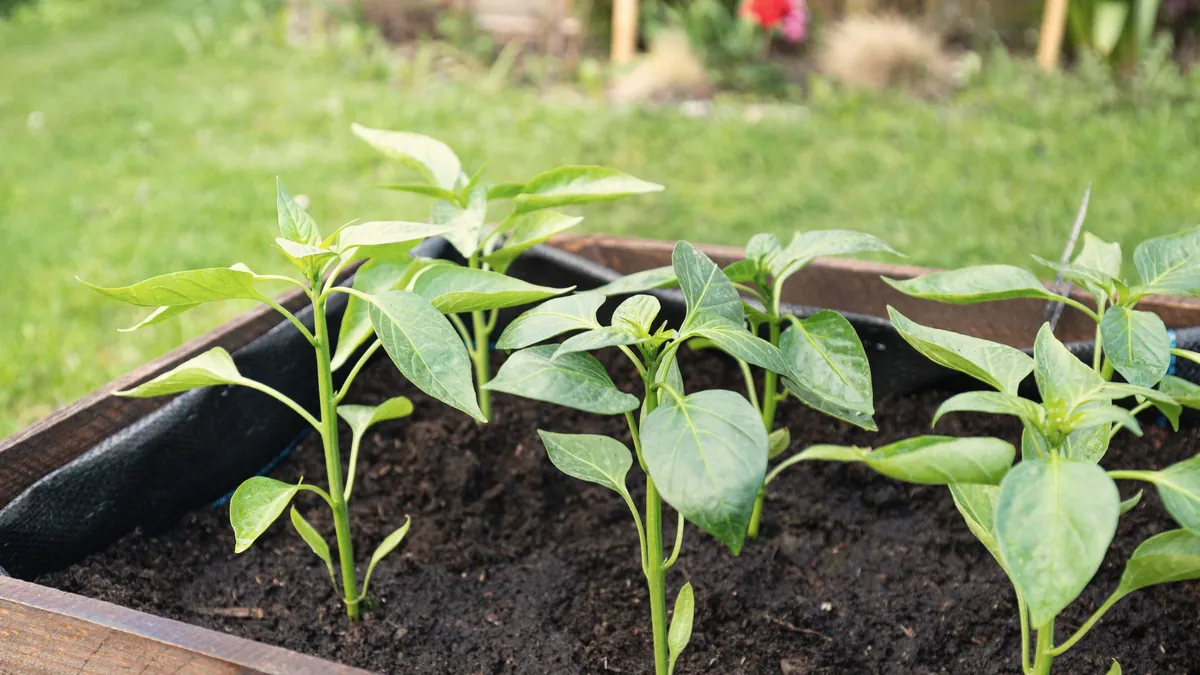
The standard spring routine is to walk into the garden centre, buy a bag of something that says it improves soil, and spread it on every bed at the same rate.
It is not that this does nothing. It is that you have no idea whether it did anything, because you never knew what the soil had to begin with, and you will not know next year either. Ten years of that and you have spent a lot of money running an experiment with no measurements in it.
A soil test costs less than a couple of bags of amendment and turns the whole thing into a plan.
What a test tells you, and what it doesn’t
A basic test from a lab — many agricultural extension services run them cheaply — will give you pH, the major nutrients, and usually organic matter content.
pH is the headline. It governs whether the nutrients already in your soil can be taken up at all. Soil sitting well outside the range a crop wants can be full of a nutrient the plant simply cannot reach, and adding more of that nutrient changes nothing. This is the single most common reason a bed underperforms for years despite being fed.
Organic matter is the slow number, and the one that tells you whether your compost habit is working. It moves by fractions of a percent per year, which is precisely why it is worth having a baseline.
What a test does not tell you is what to plant, whether your drainage is any good, or what happened in that bed last year. Those come from you and your notes.
Taking a sample properly
The result is only as good as the sample, and this is where home tests usually go wrong.
Sample each bed separately if you manage them differently. A composite of the whole garden gives you an average that describes nowhere.
Take from several spots and mix. Six to eight small cores from across a bed, combined in a clean bucket, then a cup of that mixture sent off. One hole in one corner tells you about one hole in one corner.
Sample at root depth, roughly the top six inches for vegetable beds — not the surface crust, not the subsoil.
Avoid the odd spots: right where you dumped compost, the edge against a concrete path, the corner the chickens dust in.
The prep itself: less than you think
While the result is in the post, the bed work is mostly restraint.
Compost on top, not dug in. Two to three inches spread on the surface. The worms and roots will take it down, in a way that preserves the structure you spent last season building. Digging it in is faster for you and slower for the soil.
Do not work wet soil. Squeeze a handful: if it holds a shape and smears, it is too wet, and working it now compacts it in a way that lasts for years. If it crumbles, you are fine. This is the one spring rule worth being stubborn about.
Leave the roots from last year where you cut plants at the base — they are still decaying and still feeding.
Hold the amendments until the test comes back. Lime especially: it is easy to add and slow to undo, and adding it blind to soil that did not need it is a two-year mistake.
The record that makes it compound
Per bed, per year
- Test date and the numbers — pH, the majors, organic matter
- What you added, how much, and when
- What grew there this year and how it did
- What grew there the two years before — rotation, so disease and feeding patterns are visible
One test is a snapshot and is worth having. Three tests over six years, next to what you added and what grew, is a picture of your own ground improving or not — and that is the thing you cannot buy in a bag.
It also stops the classic slow error: adding the same amendment every year out of habit long after the deficiency it addressed was corrected.
Soil Soul has the bed-audit pages ruled for this, alongside the compost logs — test results, amendments and rotation in the same place, one spread per bed per year. The free Foundation Log covers the compost half on a single page.
This month
Take the samples now if the beds are workable, get them in the post, and spread compost on the surface while you wait. Hold the rest.
The bag can wait a fortnight. The bed has waited all winter.
— Hadley
Common questions
- When should I take a soil sample?
- Early spring before amending, or autumn after the beds are cleared. The important thing is consistency — always sample at the same time of year, or the results cannot be compared between seasons.
- How often should soil be tested?
- Every two to three years for an established bed is plenty, and yearly only when you are actively correcting something. Soil changes slowly; testing more often mostly measures noise.
- Should I till my beds in spring?
- Less than most people assume. Tilling breaks the structure and fungal networks that took a season to build. Compost laid on top and left for the worms achieves more, more slowly, with less work.
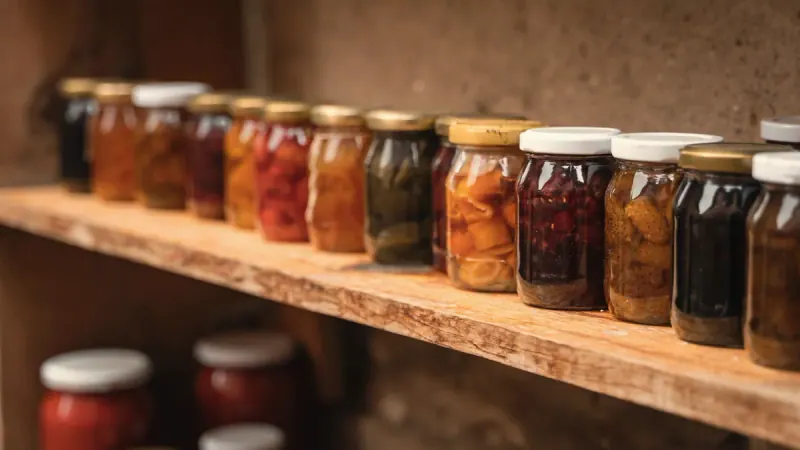
The Pre-Winter Pantry Count (Do It Before You Need It)
An inventory taken in October is true; one taken in January is done by lamplight and wrong. How to count a pantry, and the four numbers.
Read the article →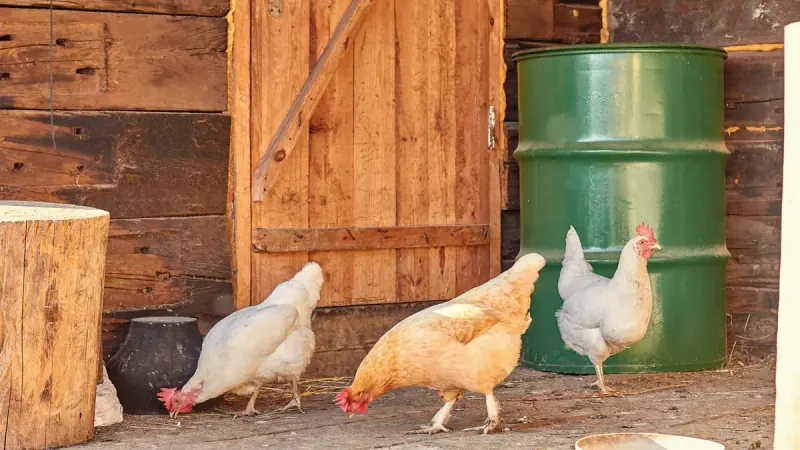
Getting Chickens Ready for Winter: Molt, Light, Records
September is molt season — the worst time to make winter decisions from memory. What molt looks like, the real pre-winter jobs, and the light question.
Read the article →
The Fall Cleanup That Feeds Next Year's Compost
Most autumn cleanup throws away the year's best compost. How to sort beds into browns, greens and burn-pile while you clear them.
Read the article →